February 1, 2024
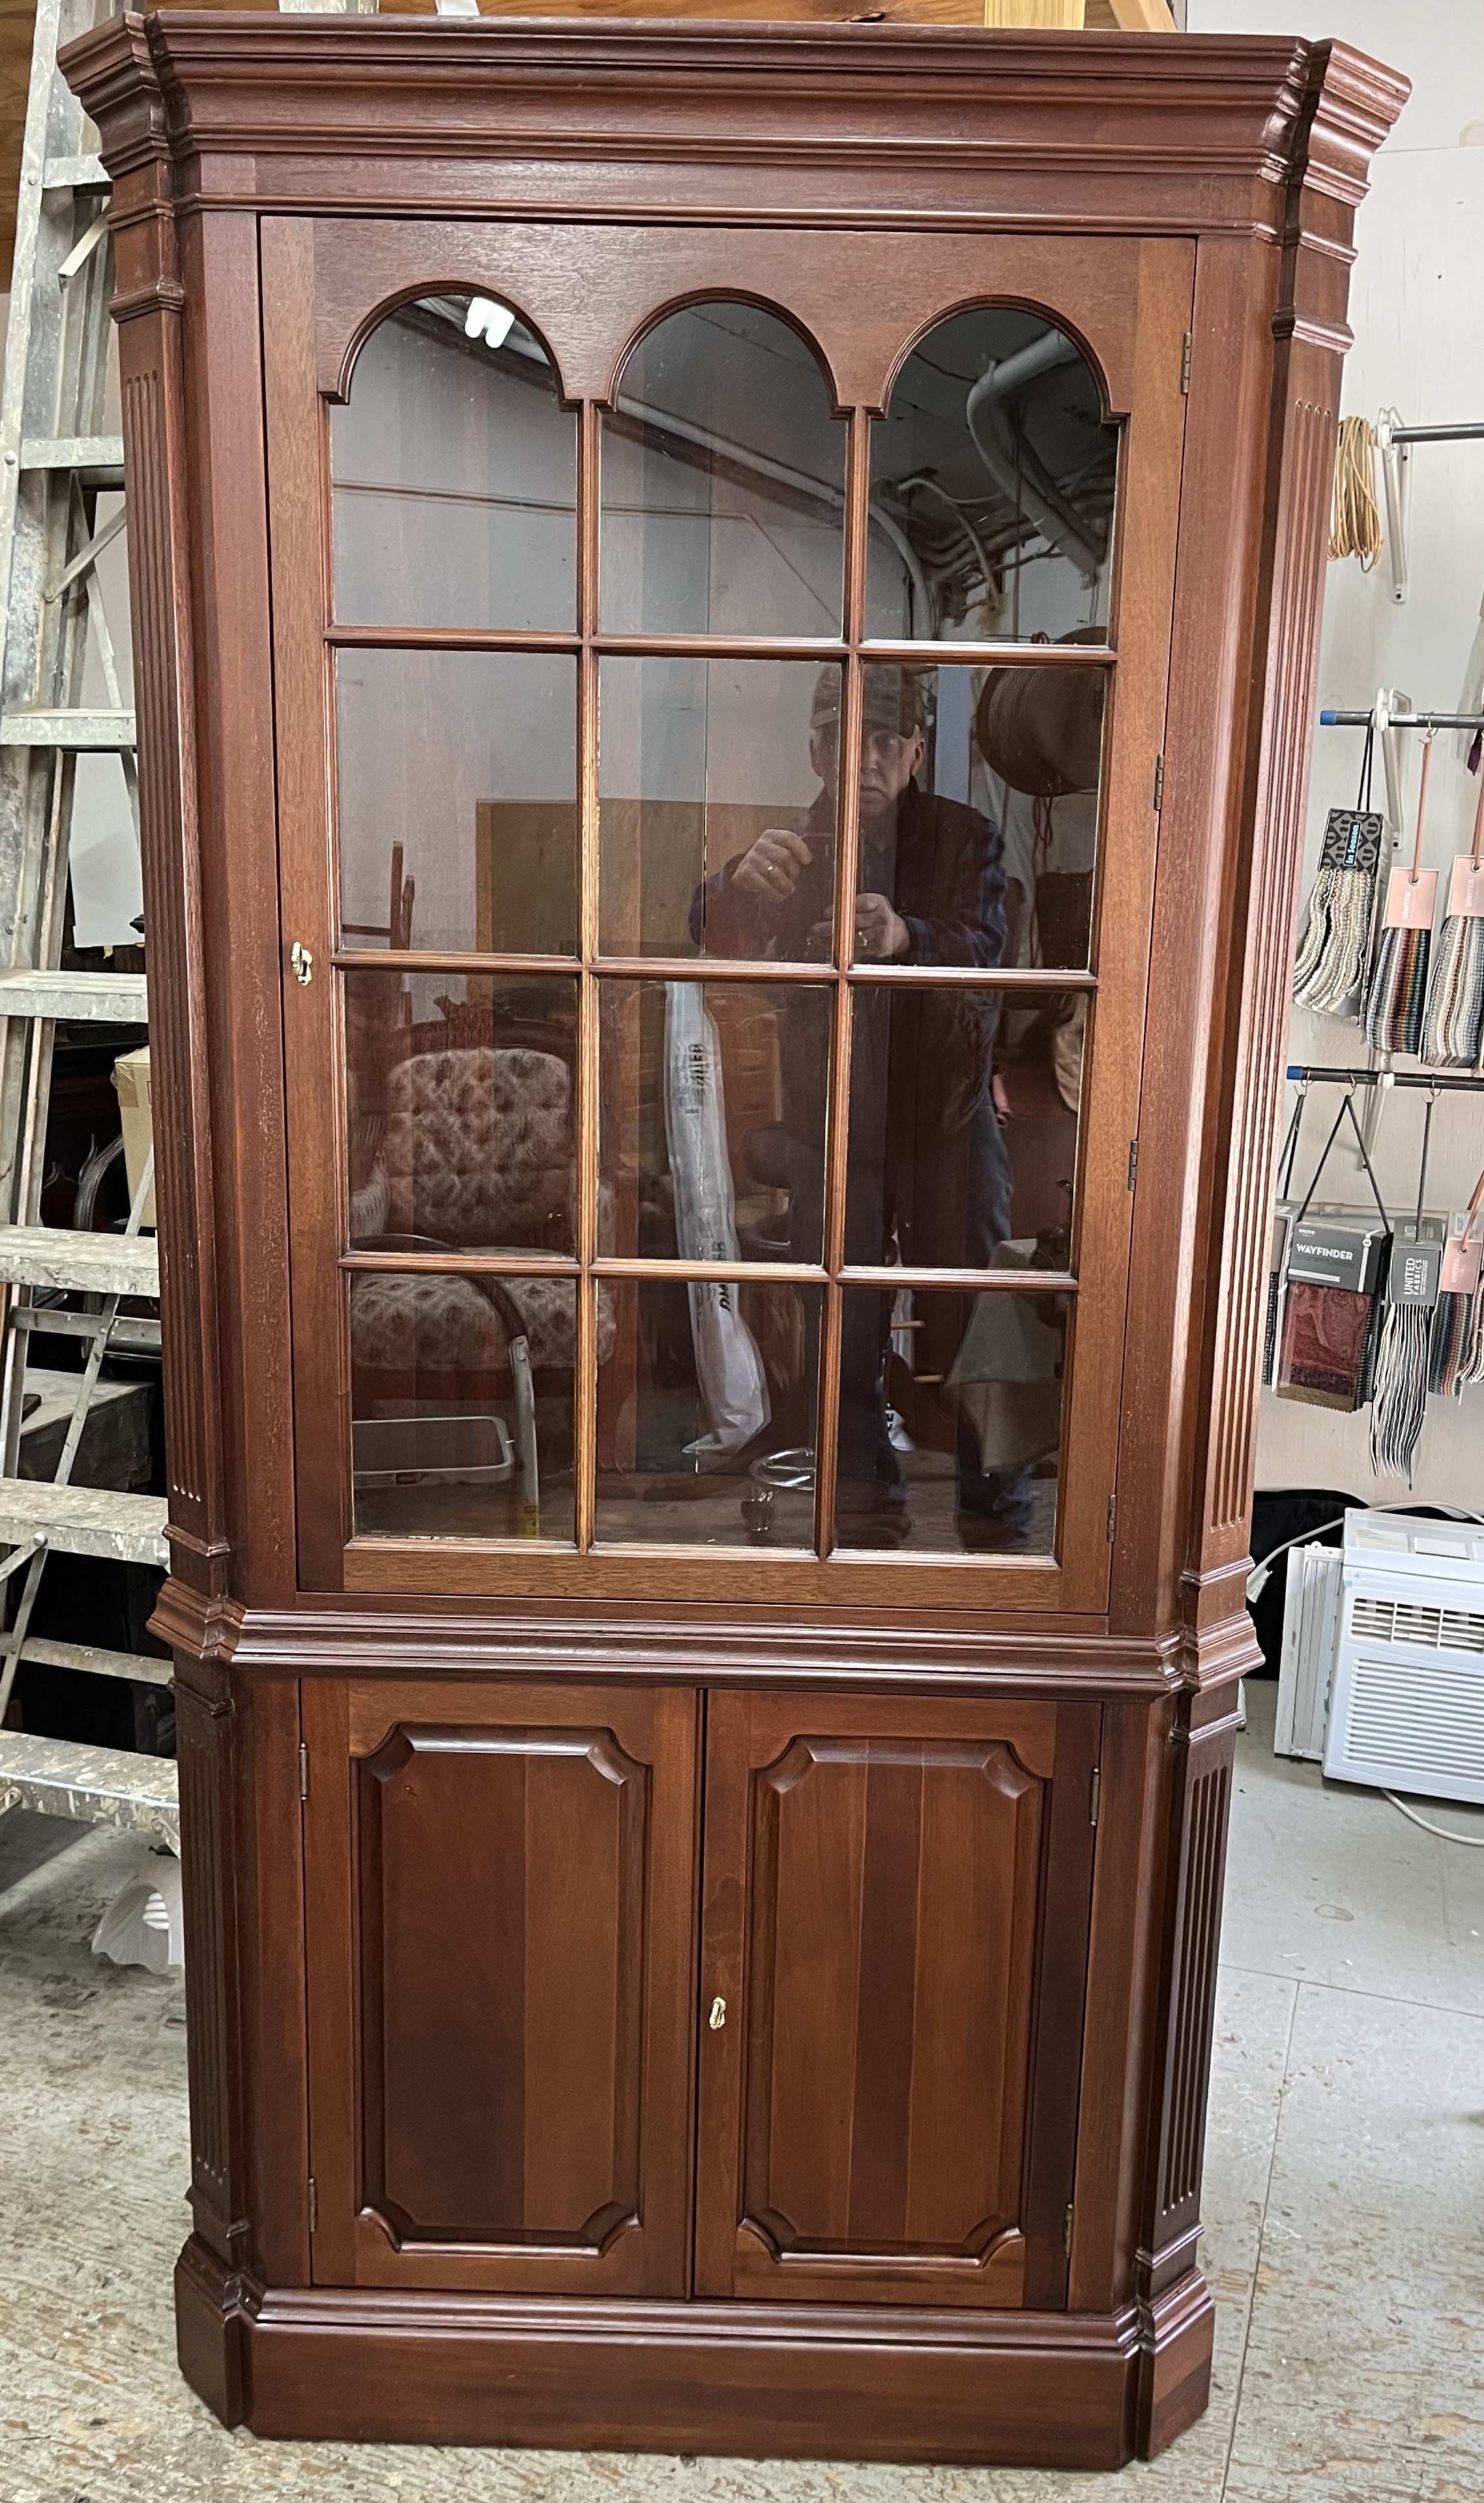
We hope you’re having a good year! Below are “before” and “after” photos of a mahogany corner cupboard that we think looks like new after refinishing. What do you think? The paint on this 1930’s piece was hiding some beautiful wood.
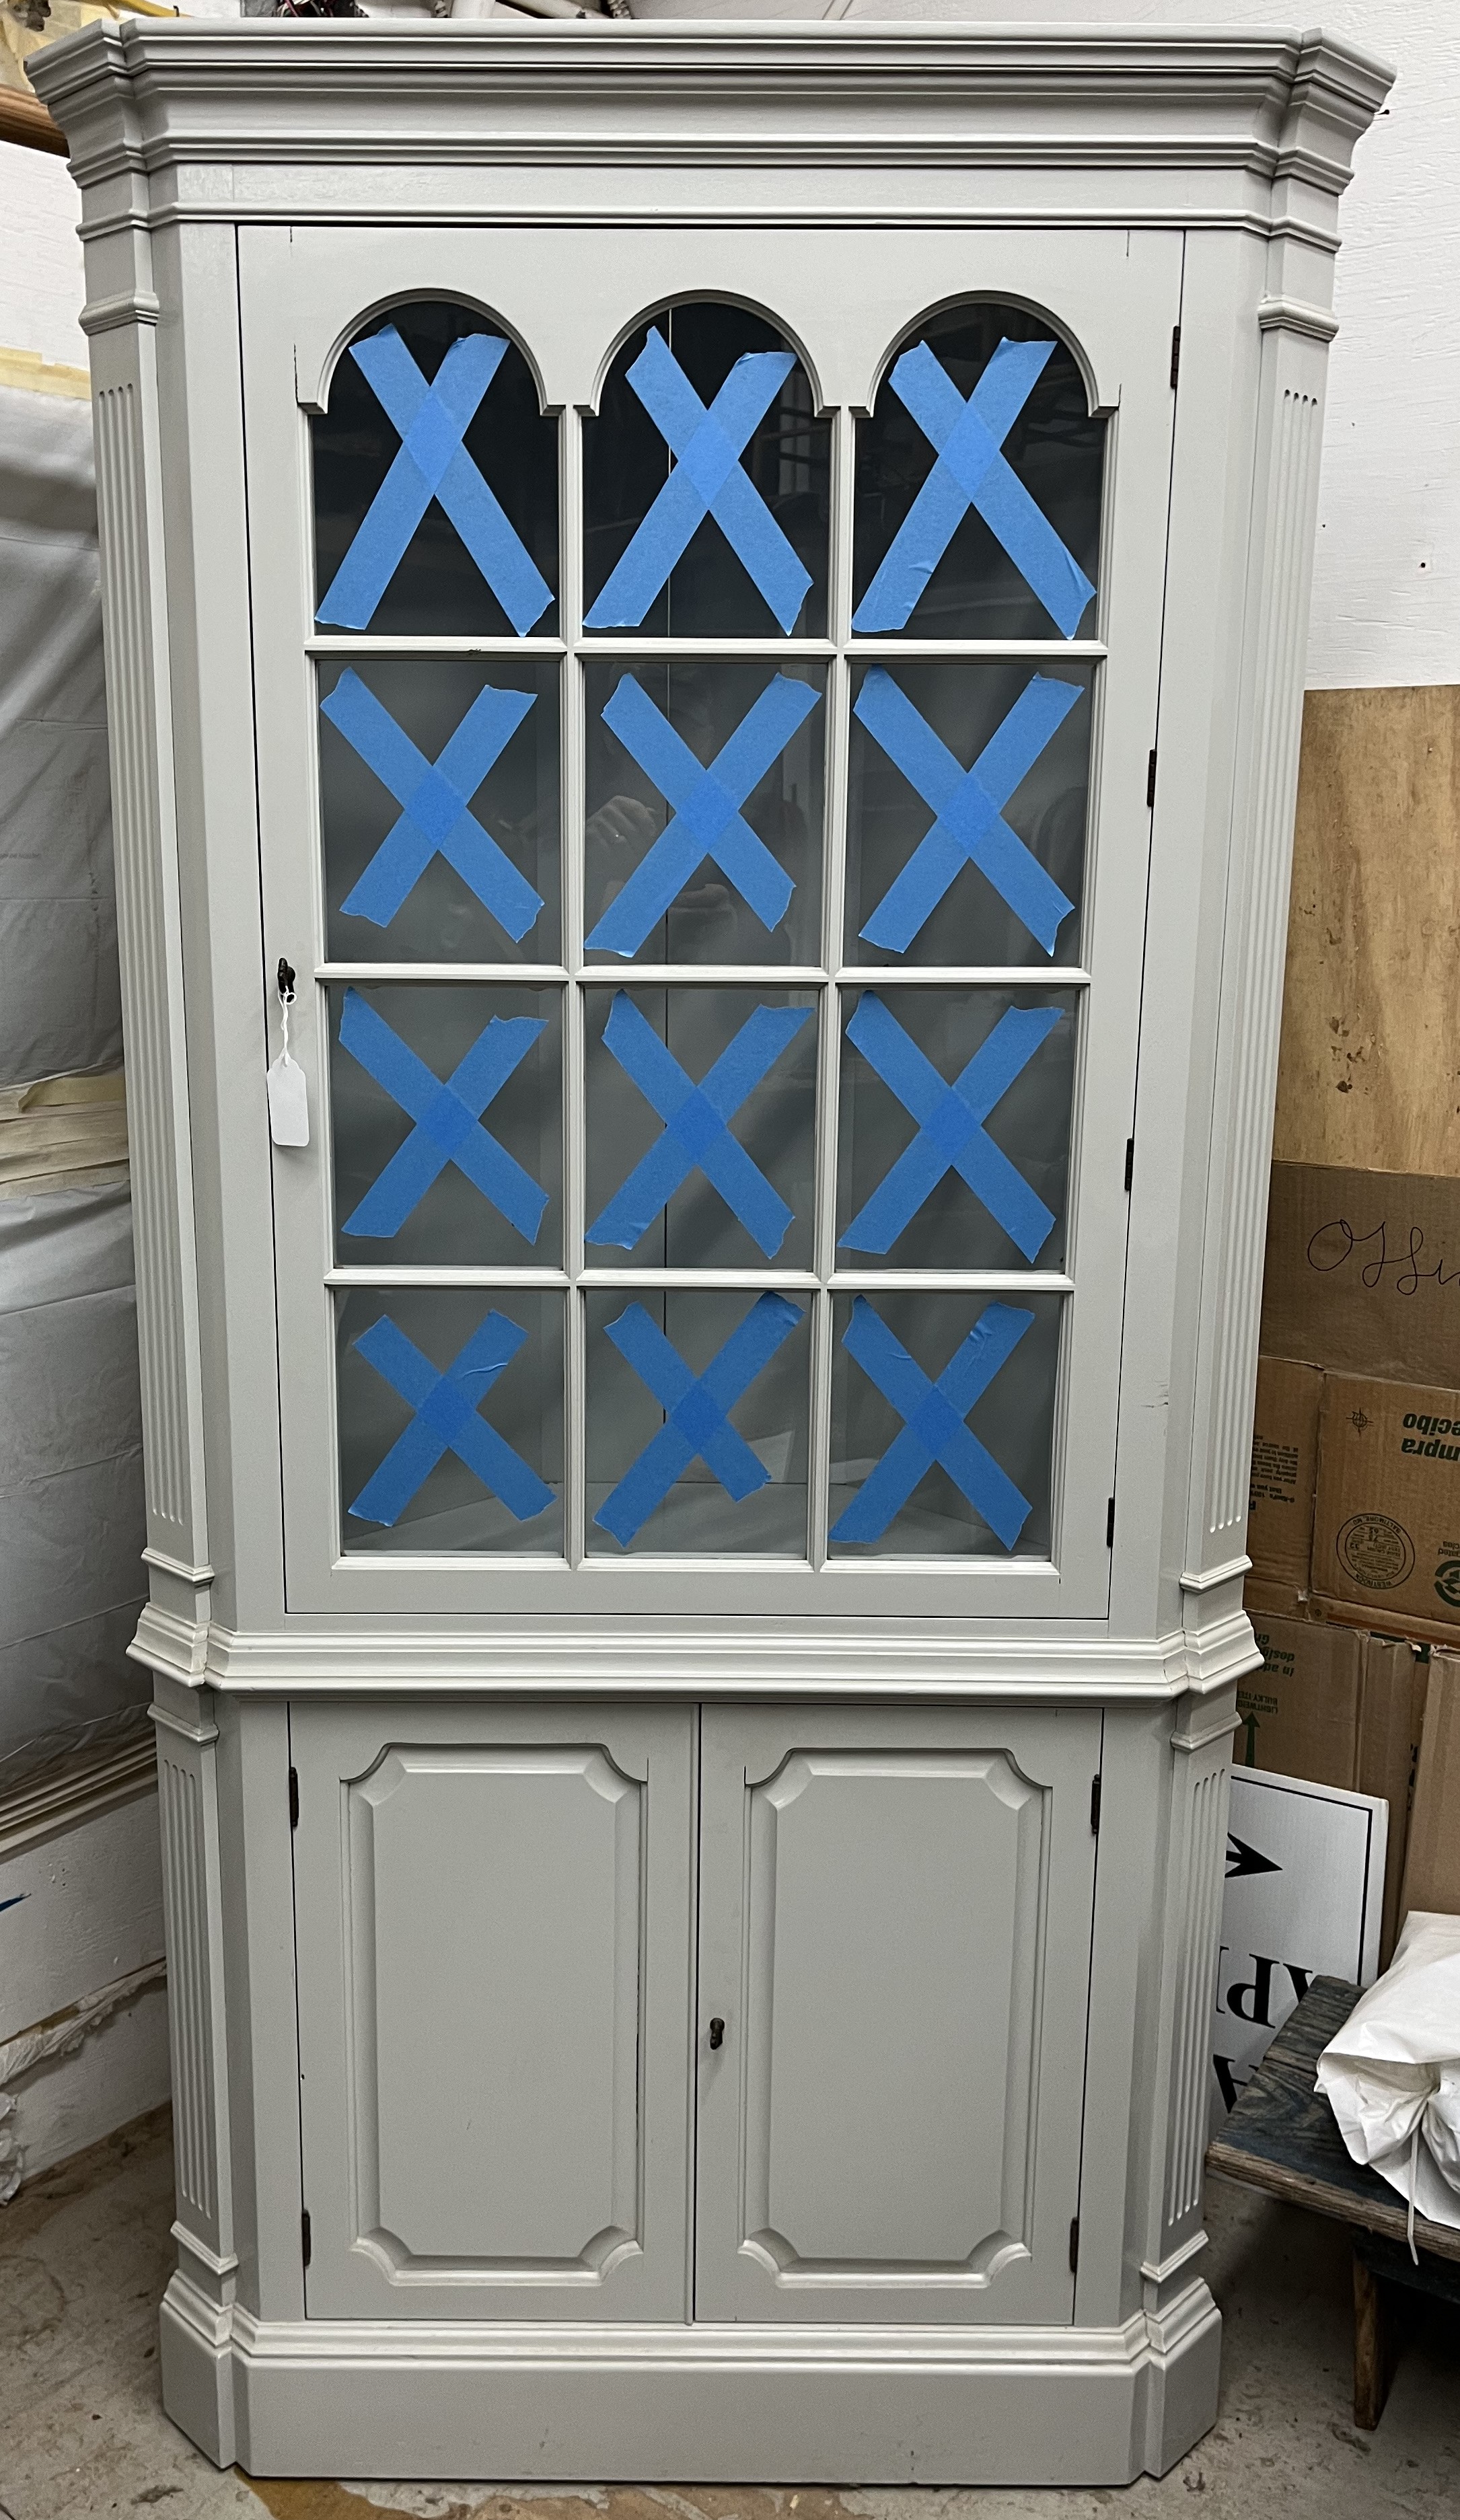
Corner Cabinet Before
If you decide to paint a piece of furniture to change its look, it’s important to prepare the item for painting by removing drawers, hardware and cushions. This will help avoid accidentally painting a drawer shut or dripping paint onto a surface where it shouldn’t be. Cleaning the piece with appropriate products will help paint adhere, but the piece will need to dry completely after cleaning before sanding. Sanding smooths imperfections that may cause the paint to chip or bubble. If you want a workout, try sanding by hand; otherwise, an orbital or finishing sander is the way to go. Use a tack cloth (i.e., fabric treated with a tacky material like resin) to remove the dust that results from sanding to avoid having the primer or paint stick to the dust instead of the furniture. Apply a water-based primer on wood furniture, brushing in the direction of the grain, to seal the wood and help the paint stick. Now you’re finally ready to paint!
Hopefully you’ve selected a paint appropriate to the surface (e.g., wood versus metal) and tested the color to ensure you’ll be getting the result you’ve intended. This can be done by painting an inconspicuous spot such as the back that would normally be against a wall or on the underside. Several thin coats of paint are like to result in a smoother finish than one thick one, but be sure to let the paint dry between coats. Synthetic brushes also are more conducive to smooth finishes. Once the final coat is dry, apply a protective finish to protect the paint from chipping.
This all sounds like a lot of work! But if you don’t like the finished products, send us a photo and ask how much it will cost to get back to “normal” . . .
Have a great month!
Bob & Lynne McCann